What is Needle Felting? – A Whole New Woolly World!
What Is Needle Felting?
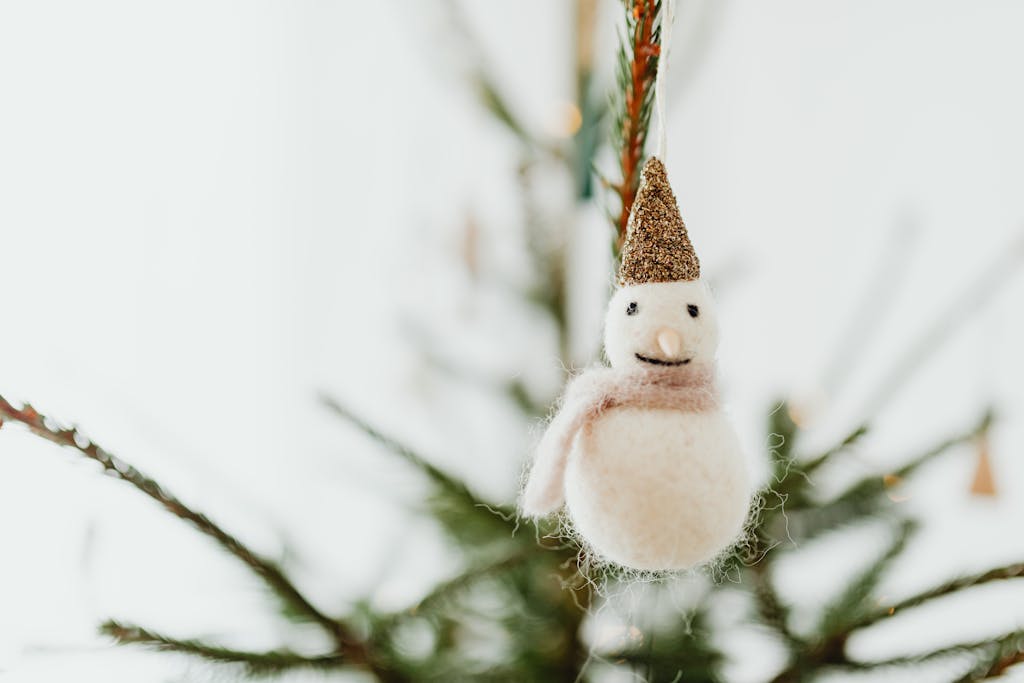
So, what is needle felting? Well, in a nutshell, needle felting is a craft that transforms loose wool fibres into solid, sculptural forms using special barbed needles. This fascinating tecnique is a process of entangling wool fibres together to create firm, lasting shapes. You can needle felt in either 2d, essentially painting with wool, or in 3d, which is sculpting with wool. Whether crafting adorable animal figures, decorative pieces, or practical items, needle felting offers endless creative possibilities. Wet felting is slightly different in that it uses water, soap and agitation to interlock the fibres.
While traditional wet felting has been practiced for thousands of years, needle felting is relatively new. Emerging in the 1980s from industrial felting processes. It was originally developed for manufacturing but the technique was adapted by fibre artists. They discovered its potential for creating detailed 3d works. Needle felting gained significant momentum in the early 2000s. Particularly in Japan, where artists began creating intricate miniature animals called “kawaii felties.”
Today, needle felting has evolved into a popular hobby worldwide, attracting crafters of all skill levels. Its appeal lies in its accessibility – requiring minimal materials to start – and its forgiving nature, as mistakes can easily be corrected through the felting process itself.

How Does Needle Felting Work?
The magic of needle felting lies in the unique structure of wool fibres and the specialized tools used to manipulate them. At a microscopic level, wool fibres are covered in tiny scales called serrations. When agitated by the repeated action of a felting needle, these scales interlock and bind together, creating a compact, solid material from loose wool.
The primary tool in this process is the felting needle – a specialised needle with small barbs or notches along its shaft. Unlike regular sewing needles, felting needles are designed not to pass smoothly through material, but rather to grab and tangle fibres as they move. Each time the needle passes through the wool, the barbs catch individual fibres and pull them through layers of other fibres, causing them to become permanently entangled.
Different types of felting needles serve various purposes. The most common types include:
– Triangle needles: All-purpose needles ideal for most projects
– Star needles: Excellent for detail work and finishing surfaces
– Reverse needles: Designed to help pull fibres out from your project. Great for fur or texturing details.
– Crown needles: Used for faster felting of larger areas
The process works best with wool due to its unique fibre structure. While other animal fibres can be felted, sheep’s wool, particularly Merino, is preferred for its fine, highly processed nature. The microscopic scales on wool fibres are more pronounced than in other fibres, making them especially suitable for felting. This is why synthetic fibres, which lack these natural characteristics, cannot be successfully needle felted.
Essential Materials and Tools
Success in needle felting starts with having the right materials and tools. While the craft is relatively simple in terms of required equipment, each tool serves a specific purpose in creating your felted pieces.
Wool for needle felting
Core wool is a less processed coarser wool that is used for the basic structure and interior of 3D projects. A finer wool, for example Merino, can then be used on top of the core to create different colours and more intricate details. This is also used to create a smooth finish. This is usually sold in the form of roving. This has been more processed than core to create a smoother finish. You can also use tops. This is good for fur detailing on animals for example as it has been combed so all the fibres are going in the same direction so gives the appearance of fur.
Felting needles
Felting needles are a crucial tool for needle felting. Despite the name you cannot use any needle. Felting needles have barbs towards the end and it is these that cause the fibres to interlock. They can be found in various gauges and the higher the number the finer the needle. Use thicker needles for beginning projects and working with core wool. Higher gauges help to create finer details and smooth finishes. Felting needles do brake often as a beginner so make sure you have spares before starting your project.
Working Surfaces
A needle felting pad is essential to protect both your work surface and your needles. These come in various forms but most commonly used is dense foam.
Foam pad – Dense foam block (at least 2 inches thick) that protects your work surface and needle
Brush mat – Alternative to foam, with bristles that help prevent needle breakage
Wool mat – This is the type of mat I personally use. Made from wet felted wool.
Safety Equipment
As you are working with needles there is a risk of pricking yourself. The risk does diminish with practice but there are a few things worth having handy when you are just starting out. Finger guards and usually made from leather and should be worn on the index finger and thumb of the hand holding the wool rather than the needle. A needle holder can be great to help improve your grip and therefore reduce your chances of stabbing yourself. I’d recommend having some plasters handy as well, just in case.
Additional Helpful Tools
– Small scissors for trimming wool and details
– Cookie cutters are brilliant for forming basic shapes
– Ruler or measuring tape for size consistency
– Wire or pipe cleaners for armatures in poseable sculptures
– Storage containers for organising different colours and types of wool
– Awls are great at creating holes for eyes for example.
Basic Techniques
Mastering the basic techniques of needle felting provides the foundation for all future projects. Starting simple and working up to more complicated projects it a great way to start. Success comes from understanding proper needle handling, basic shaping methods, and essential techniques that build upon each other.
How to use your Felting Needles
Its important to remember to always felt straight up and down to try and prevent your needles breaking. Holding your felting needle like a pencil can really help with precision and the depth of your stab. You do not need to stab all the way through your project as this will actually mean that the fibres get pushed back out the other side. You will then need to felt them back in again. By using consistent rhythmic stabbing motions, you will soon start to build muscle memory for angle and depth, and you will find that your speed will then naturally increase, don’t try to rush it.
Basic Felted Shapes
When just getting started it’s a good idea to master basic shapes. Once you have these you can start to adapt them into more complicated sculptures. To create a sphere, start by wrapping your wool into a ball shape and felt straight down while turning the ball in all directions every few stabs so you felt consistently. You can buy felt templates to create more complex shapes, but cookie cutters are a brilliant way to begin creating basic shapes.
One of my first projects was a garland that I made with the help of a star cookie cutter. Fill the cutter with wool and felt all over the surface until loosely felted. You can continue within the cutter to full felt or remove it as a basic shape you can continue working with.
As your projects felt they will shrink considerably, just how much came as quite a surprise to me. If you have not used enough wool, don’t worry, you can always add more. You can test the firmness of your project by gently squeezing it and add more wool as needed to build your project up slowly.
Adding colours and fine details
When it comes to adding colours, use thin layers as this will help the colours attach better to your core shape. Colours can be blended into each other by using layered wisps of colour felted together at the edge of each colour. It is easier to start with the larger areas to avoid the small details getting lost and use a higher gauge needle as you move towards the finer details.
Different Types of Needle Felting Projects
Needle felting offers an almost endless array of possibilities, from simple decorative pieces to complex sculptural works. As I said earlier needle felting can be done in either 2d or 3d. While both styles of needle felting use the same basic tools and techniques, 2D and 3D needle felting offer distinctly different creative approaches and challenges.
Two-dimensional needle felting involves creating flat pieces, like painting with wool. This involves building layers of coloured fibre onto a flat backing material like felt or fabric. It’s great for creating pictures, patches, decorative wall hangings, and embellishments for clothing.
Three-dimensional needle felting, involves building up wool fibres in multiple directions to create self-supporting sculptural forms. This technique requires careful attention to structure and density. Usually, starting with a solid core shape that’s gradually refined with surface details and colour. 3D projects can include animal figures, dolls, or decorative sculptures. Possibilities are endless!
Conclusion and Getting Started
Needle felting offers a unique blend of creativity, relaxation, and satisfaction as you watch simple wool fibres transform into beautiful works of art. Whether you’re drawn to creating whimsical creatures, practical accessories, or decorative pieces, this versatile craft provides endless opportunities for artistic expression. The relatively low cost of entry and forgiving nature of the medium make it an ideal hobby for creative individuals of all skill levels.
Remember, every experienced needle felter started as a beginner. With patience, practice, and the basics covered here, you’re well-equipped to start creating your own felted masterpieces.
